A pipe clamp helps bring the ends of a joint into line and hold them while you set the gap and begin tacking. Getting that fit-up right gives you a better starting point for welding and reduces the chance of having to correct the joint later.
The choice depends on the pipe diameter, whether you are joining pipe to pipe or pipe to a fitting, and how much adjustment the joint needs. This guide explains how the main clamp types handle those different tasks.
In this guide:
What a Clamp Actually Does
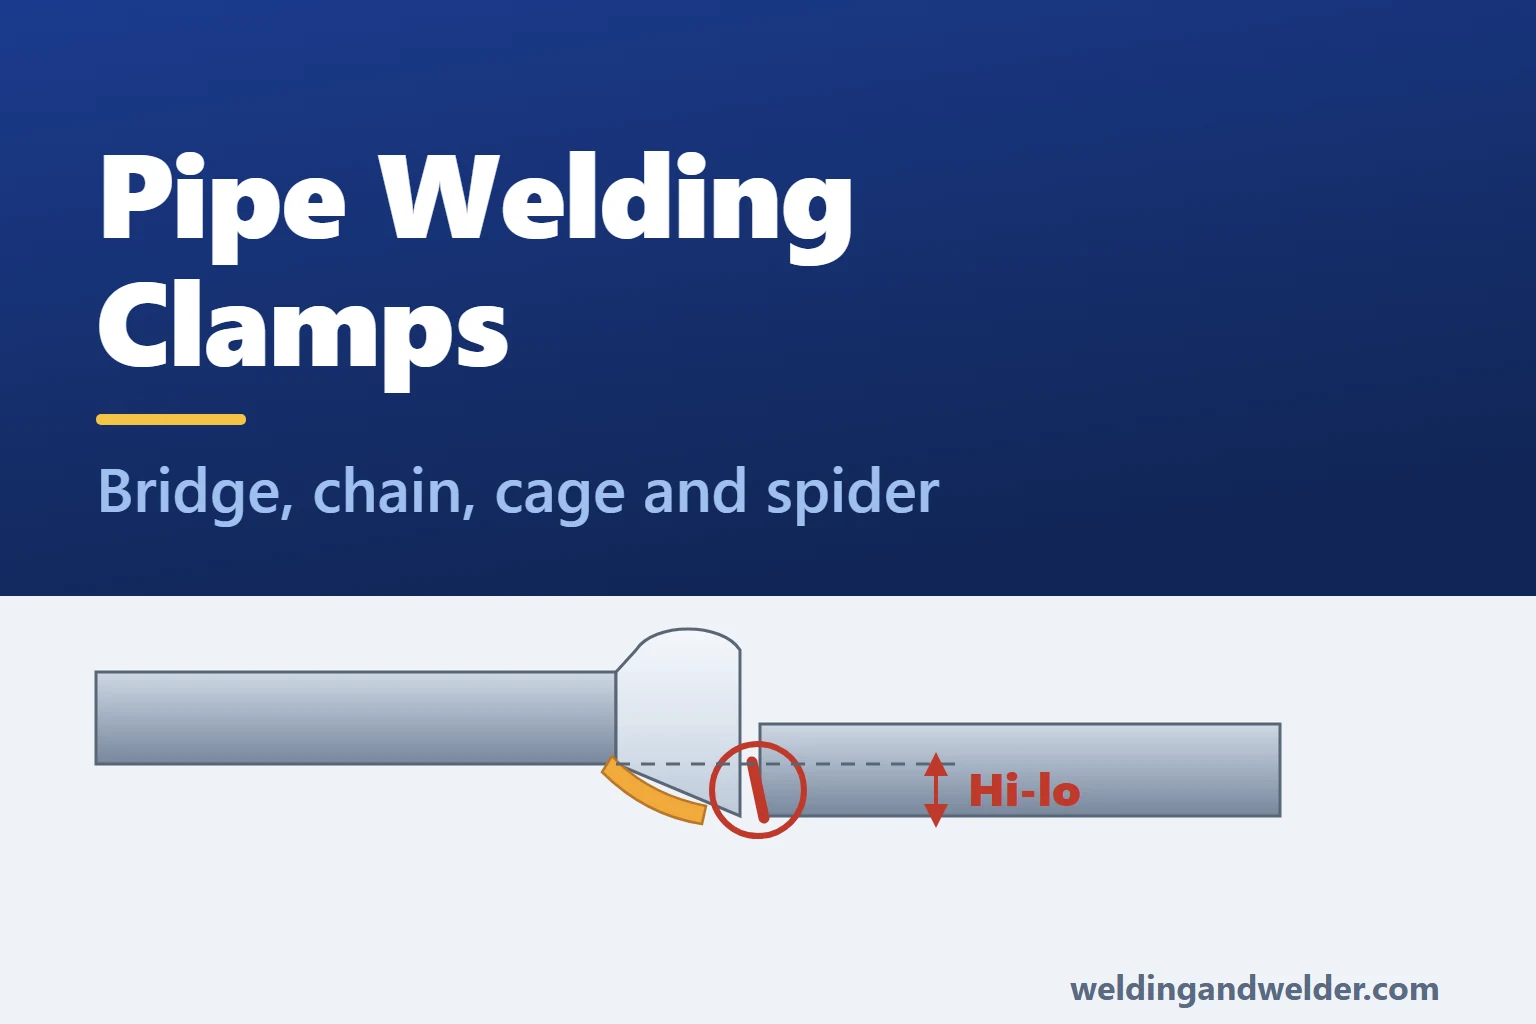
Before the first tack, check both the alignment of the bores and the root gap around the joint against the welding procedure. The step between the internal surfaces is known as hi-lo. A suitable clamp helps you control that mismatch and hold the required fit-up while you work.
Excessive hi-lo can make it harder to achieve sound fusion at the root, but misalignment and lack of fusion are separate imperfections. Use the job’s specified limits to judge the fit-up and finished weld. Correcting an unacceptable fit-up before welding is usually simpler than removing and repairing a weld afterwards.
Choosing by Size and Joint
| Type | Typical range | Best for |
|---|---|---|
| Bridge and alignment clamps | 1 to 14 inch | Smaller pipe-to-pipe and pipe-to-fitting joints, with screw adjustment for alignment |
| Single chain clamps | 4 to 24 inch | Pipe-to-pipe alignment where a suitable bridge clamp cannot span or grip the joint |
| Double chain clamps | 10 to 240 inch OD | Larger diameters and heavier work; reforming capability depends on the model and wall thickness |
| Cage clamps | 4 to 60 inch | External alignment using manual, ratchet or hydraulic operation; check whether reforming is permitted |
| Spider clamps | Around 54 to 520 mm | Internal alignment of flanges, elbows and fittings where external access is restricted |
| Pincer clamps | Around 10 to 330 mm | Positioning smaller tube and lighter assemblies where the design provides the required alignment |
Treat these figures as examples across each product family, since an individual clamp may cover a narrower range or just one pipe size. Where the options overlap, compare the adjustment you need, access around the joint and the clamp’s suitability for the wall thickness. Check whether its size rating refers to the bore, outside diameter or nominal pipe size.
The Types Explained
Bridge and Alignment Clamps
A bridge clamp has a frame that spans the joint, with screws that let you adjust the pipe ends into line. It is a common choice for smaller pipe, with examples covering 1 to 14 inch sizes. Suitable designs also work well on pipe-to-fitting joints where a clamp that surrounds the whole joint would be difficult to position.
For a clamp that will see regular workshop or site use, compare the construction, rated capability and intended duty of forged and cast versions. Options include black bridge clamps, gold bridge alignment clamps and the EZ Fit range.
Chain Clamps
A chain clamp wraps around the pipe and works with a body and adjustment points to align the joint. Single-chain examples cover roughly 4 to 24 inch pipe, while double-chain versions extend to around 240 inch outside diameter across the range. The choice between them depends on the required alignment or reforming work as well as size.
The chain can follow the pipe’s shape, but its ability to correct out-of-round pipe depends on the complete clamp design and the wall thickness. Check that it is rated for reforming if that is what the joint needs. You can compare the available chain pipe alignment clamps by size and adjustment capability.
Cage Clamps
A cage clamp surrounds the joint with a rigid external frame and contact bars that bring the pipe ends into alignment. The examples here cover roughly 4 to 60 inch pipe across the range, with individual clamps commonly sized for a particular diameter. Do not assume a cage clamp can reshape out-of-round pipe: many are designed for alignment only.
Manual-lever, ratchet and hydraulic versions offer different ways to apply the clamping force. Hydraulic operation can reduce manual effort on suitable heavier or repetitive work, but it does not by itself make the clamp suitable for reforming. Check the model’s limits in the cage pipe clamps range.
Spider Clamps
A spider clamp expands against the inside of the bore, using arms arranged around a central mechanism. This can be useful when aligning a flange with an elbow or another fitting where an external clamp would obstruct access. With the outside of the joint left clear, you have more room to work; see the spider pipe clamps for the available configurations.
Pincer Clamps
Pincer clamps offer a quick way to position smaller tube and lighter assemblies, with examples covering roughly 10 to 330 mm depending on the model. Choose one that provides the access and alignment control the job requires. For work with inspection requirements, check that the clamp can achieve and hold the specified fit-up.
Stainless or Carbon Steel Contact Points
Alongside size and clamping capability, check the material of every surface that will touch the pipe. This is particularly important when you are working with stainless steel.
Carbon steel jaws can transfer iron onto a stainless surface, leading to rust staining and, in some conditions, localised corrosion. Preventing that contamination is especially important on food, pharmaceutical, brewing and chemical installations, where surface condition matters. Follow the job’s cleanliness requirements, as contamination may not be obvious during a visual check.
- Choose suitable stainless contact points for stainless work. Depending on the range, these may be gripping surfaces, clamping screws or covers fitted over the contact faces.
- Keep stainless tooling separate from carbon steel tooling. Using a stainless clamp on carbon steel can contaminate its contact surfaces, so it needs suitable cleaning and checking before it returns to stainless work.
- Apply the same precautions to everything touching the joint, including grinding discs, wire brushes and the workbench.
Tacking and Releasing
- Inspect the pipe ends before fitting the clamp. Check the bevels, squareness and cleanliness first, as alignment adjustment cannot make up for an unsuitable preparation.
- Set the root gap to the welding procedure. Check that it remains within the required limits around the joint, rather than accepting the gap left by tightening the clamp.
- Measure hi-lo around the full joint. Good alignment at the top does not tell you whether there is a step at the bottom or on the far side.
- Use the specified tack sequence to control movement. A balanced sequence, often alternating between opposite sides, helps limit distortion as the tacks cool. Follow the procedure’s requirements for tack size and placement.
- Release the clamp at the stage the procedure allows, then re-check the fit-up. Some clamps are removed after adequate tacking, while others allow the root run or more welding with the clamp in place. Follow both the welding procedure and clamp instructions, as the joint can move when restraint is released.
If the joint needs purging, plan the clamp and purge equipment together so neither obstructs the other. Our weld purging guide explains purge dams and volumes, while the weld purging equipment range covers the equipment to use alongside the clamps.
Stands, Rollers and Rotators
The clamp controls fit-up, while stands and handling equipment support the weight and bring the joint to a workable height. Where the procedure and assembly allow it, rotating the pipe can also let you weld in the flat position.
- V head stands support the pipe at a selected height and are a common starting point for work that stays in position.
- Roller stands allow the pipe to turn, making a rolled weld possible where the setup and welding procedure permit it.
- Powered rotators drive the pipe at a controlled speed, helping you maintain steady movement when welding suitable heavy sections.
A controlled rolled weld can make access easier and help with both consistency and speed, provided the work can be supported and rotated safely. Our welding positions guide explains how position affects the technique, and the pipe welding stands range covers the supporting equipment.
Frequently Asked Questions
What are pipe clamps used for in welding?
Pipe clamps bring the joint into alignment and hold the required fit-up during tacking or welding, depending on the design. They help control hi-lo, the step between the pipe bores, while you set the root gap to the welding procedure. Check both around the joint before proceeding.
What is hi-lo in pipe welding?
Hi-lo is the step between the internal surfaces of the pipe ends at a joint. Excessive mismatch can make root fusion more difficult, but it does not automatically mean lack of fusion has occurred. Check the measured mismatch against the limits in the applicable specification or welding procedure.
Which pipe clamp do I need?
Start with pipe size, joint type and the amount of correction needed. Bridge clamps commonly cover 1 to 14 inch sizes, single-chain examples 4 to 24 inch, and double-chain versions larger work. Cage-clamp ranges include 4 to 60 inch sizes, often with a separate clamp for each diameter. Spider clamps can help with internal fitting alignment. Confirm the individual model’s size and wall-thickness limits.
Can I use a carbon steel clamp on stainless pipe?
Avoid direct contact with carbon steel jaws where it could contaminate the stainless surface. Suitable stainless contact points or approved covers help prevent iron transfer, which can lead to rust staining and localised corrosion. Keep the contact surfaces clean and use dedicated tools for stainless work.
What is the difference between a cage clamp and a chain clamp?
A chain clamp uses a flexible chain with adjustment points to align the joint, while a cage clamp uses a rigid external frame with contact bars. Some chain clamps can also reform pipe within specified limits, whereas many cage clamps are intended only for alignment. Choose by the actual model’s capability rather than assuming either style can correct out-of-round pipe.
Do I leave the clamp on while welding?
Follow the welding procedure and the clamp manufacturer’s instructions. Some clamps are removed after sufficient tacking, while others provide clearance for welding with the clamp in place. Make sure the joint has enough support and weld strength before releasing it, then re-check the gap and alignment because removing restraint can allow movement.
Browse the pipe welding clamps and wider pipe stands and clamps range, or use the technical enquiry form to send us the pipe diameter, wall thickness and material. Those details help us identify a clamp that suits the joint and the adjustment needed.